There are certain scenario's in our projects we which needs to used for custom Authentication instead of using Default MVC5 Asp.net Identity mechanism. So here I am explaining on how to create custom authentication and mapping it to the default filters like Authorize, roles..etc.
1.Open visual studio create a new project
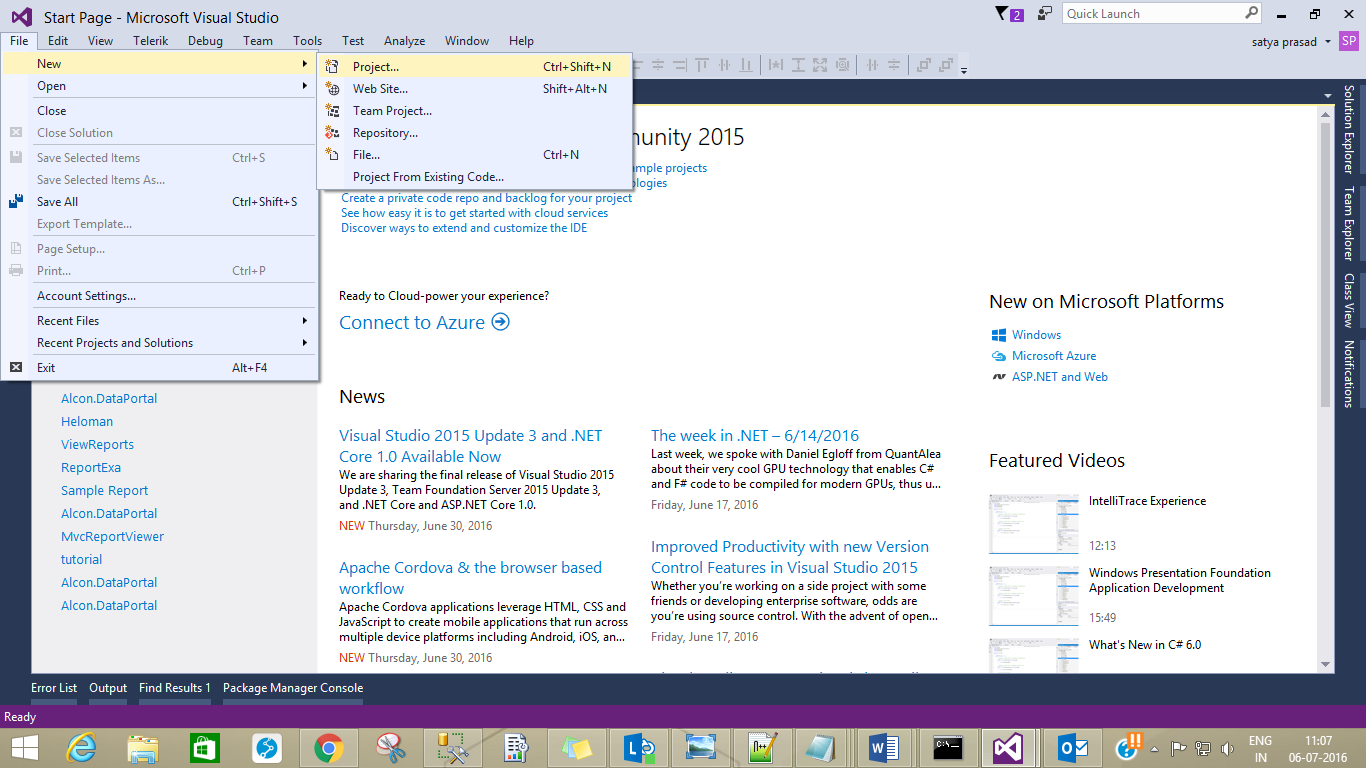
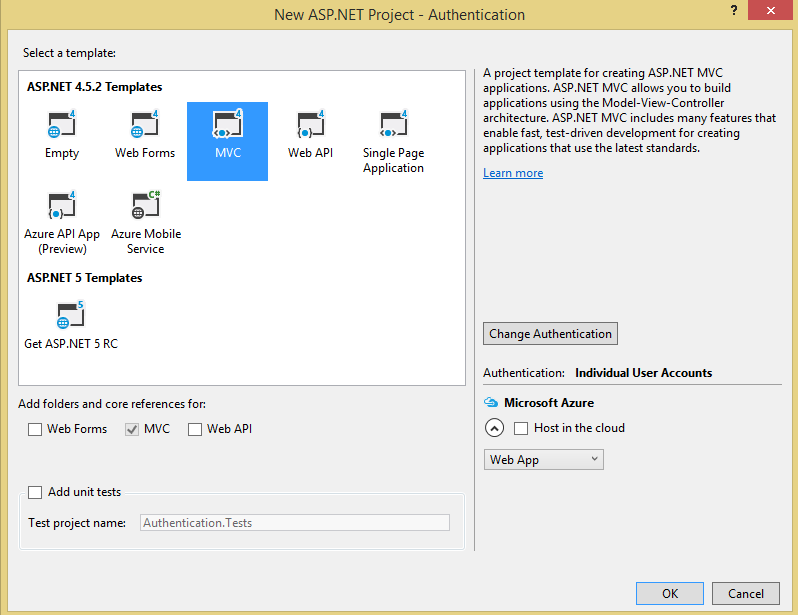
2. Select ASP.NET Application and name the project

3. Select MVC template
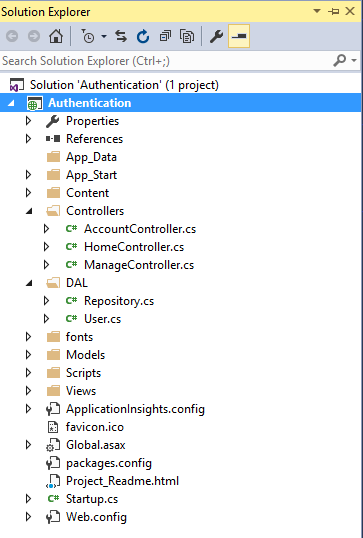
4. After loading the project , create a new folder DAL (Here we can call our custom implementation methods for User Authentication)

5. Now project structure looks like the below diagram in solution explorer

6. Add two classes in DAL layer, User.cs and Repository.cs
7. Paste the below code in User.cs file


1.Open visual studio create a new project
2. Select ASP.NET Application and name the project
3. Select MVC template
4. After loading the project , create a new folder DAL (Here we can call our custom implementation methods for User Authentication)
5. Now project structure looks like the below diagram in solution explorer
6. Add two classes in DAL layer, User.cs and Repository.cs
7. Paste the below code in User.cs file
public class User
{
    public string Email { get; set; }
    public string Roles { get; set; }
    public string Password { get; set; }
}
8. Paste the below code in Repository.cs file
public static class Repository
{
   static List<User> users = new List<User>() {

        new User() {Email="abc@gmail.com",Roles="Admin,Editor",Password="abcadmin" },
        new User() {Email="xyz@gmail.com",Roles="Editor",Password="xyzeditor" }
    };

    public static User GetUserDetails(User user)
    {
        return users.Where(u => u.Email.ToLower() == user.Email.ToLower() &&
        u.Password == user.Password).FirstOrDefault();
    }
}
9. Open “AccountController” in Controllers folder.
10. Goto method called Login(LoginViewModel model, string returnUrl)
Delete the below code from the Login method
11. Paste the below code inside login method
if (!ModelState.IsValid)
{
    return View(model);
}

User user = new User() { Email=model.Email,Password=model.Password};

user = Repository.GetUserDetails(user);

if (user!=null)
{
    FormsAuthentication.SetAuthCookie(model.Email, false);

    var authTicket = new FormsAuthenticationTicket(1, user.Email, DateTime.Now, DateTime.Now.AddMinutes(20), false, user.Roles);
    string encryptedTicket = FormsAuthentication.Encrypt(authTicket);
    var authCookie = new HttpCookie(FormsAuthentication.FormsCookieName, encryptedTicket);
    HttpContext.Response.Cookies.Add(authCookie);
    return RedirectToAction("Index", "Home");
}

else
{
    ModelState.AddModelError("", "Invalid login attempt.");
    return View(model);
}
- Goto public ActionResult LogOff() method in AccountController itself
Replace existing code with below code
//
// POST: /Account/LogOff
[HttpPost]
[ValidateAntiForgeryToken]
public ActionResult LogOff()
{
    //AuthenticationManager.SignOut(DefaultAuthenticationTypes.ApplicationCookie);
    FormsAuthentication.SignOut();
    return RedirectToAction("Index", "Home");
}
- Open Global.asax.cs file
Paste the below method
Hide Copy Code
protected void Application_PostAuthenticateRequest(Object sender, EventArgs e)
{
    var authCookie = HttpContext.Current.Request.Cookies[FormsAuthentication.FormsCookieName];
    if (authCookie != null)
    {
        FormsAuthenticationTicket authTicket = FormsAuthentication.Decrypt(authCookie.Value);
        if (authTicket != null && !authTicket.Expired)
        {
            var roles = authTicket.UserData.Split(',');
            HttpContext.Current.User = new System.Security.Principal.GenericPrincipal(new FormsIdentity(authTicket), roles);
        }
    }
}
Now the settings required for Authentication and roles have been completed.
Lets see what have we created and how are we going to use those
1. We have created 2 users Admin,Editor in Repository.cs class
2. Now In Home Controller “Index” method we will give access to only “Admin” ,for “About” method will give access to both “Admin and Editor”.
Decorate HomeController with [Authorize] attribute first to restrict unauthorized access, decorate remaining two methods with respective roles as discussed above.
See the below code snippet for reference
Hide Copy Code
[Authorize]

public class HomeController : Controller
    [Authorize(Roles = "Admin")]
    public ActionResult Index()
    {
        return View();
    }

    [Authorize(Roles = "Admin,Editor")]
    public ActionResult About()
    {
        ViewBag.Message = "Your application description page.";

        return View();
    }
That’s it, our application is ready with custom authentication and authorization.
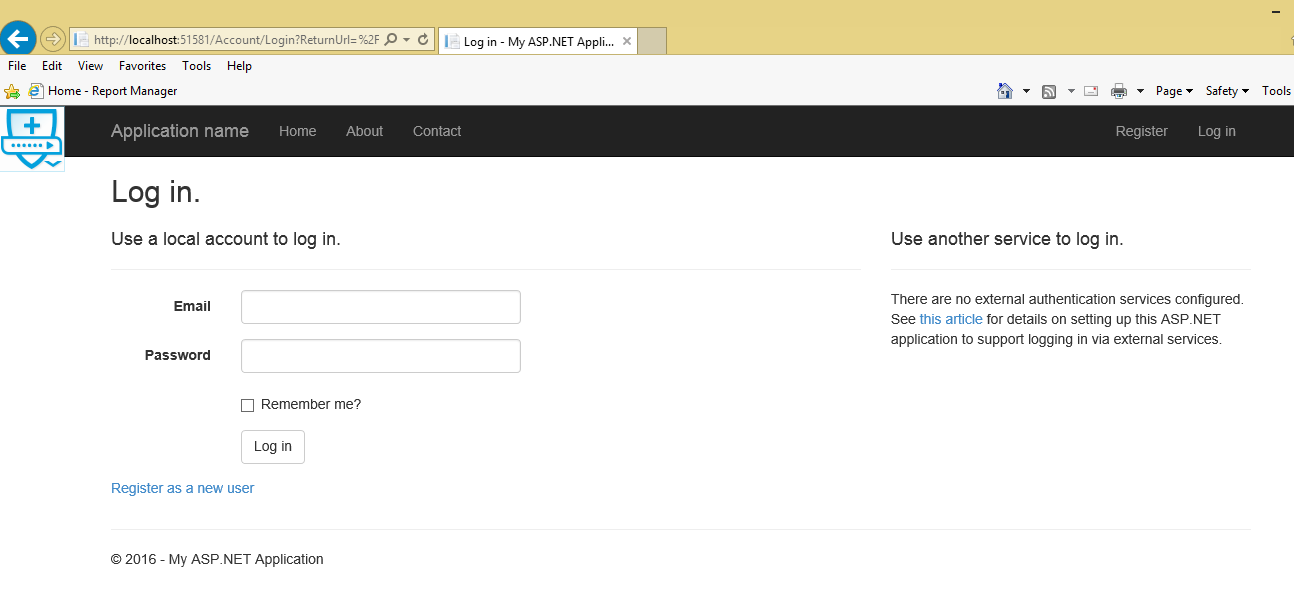
Now let’s run the application, as we have decorated HomeControllerwith [Authorize] attribute, we will get Login page first instead of Default HomeController Index method.
If we see the url it is not directly called Account/Login method, there is extra ReturnUrl
http://localhost:51581/
See default route config as below
Hide Copy Code
public static void RegisterRoutes(RouteCollection routes)
{
    routes.IgnoreRoute("{resource}.axd/{*pathInfo}");

    routes.MapRoute(
        name: "Default",
        url: "{controller}/{action}/{id}",
        defaults: new { controller = "Home", action = "Index", id = UrlParameter.Optional }
    );
}
So when it goes to HomeController directly it doesn’t get authenticated so it redirects to Login page in AccountController. Now enter the required credentials created by us. I am entering admin details i.e.
Now when we click the Login Button, it will redirect to Index method in HomeController.
When we see extreme right corner , it will read the User details from context and Hello abc@gmail.com!
Now Logoff and enter editor credentials.
When we click on Login Page we will be same screen, but Right side we can see User is authenticated (Hello xyz@gmail.com!), because he doesn’t have permission to call Index method it will show the same page.
Now just Point the Url to HomeController, “About” method as below.
http://localhost:51581/Home/About
we will be redirected to desired page, since “Editor” role has permission he can access the About Action method.
Comments
Post a Comment